Toilet Installation – Austin, Tx 78727


CALL FOR AN ESTIMATE
WHAT PLUMBING IS REQUIRED FOR A TOILET?
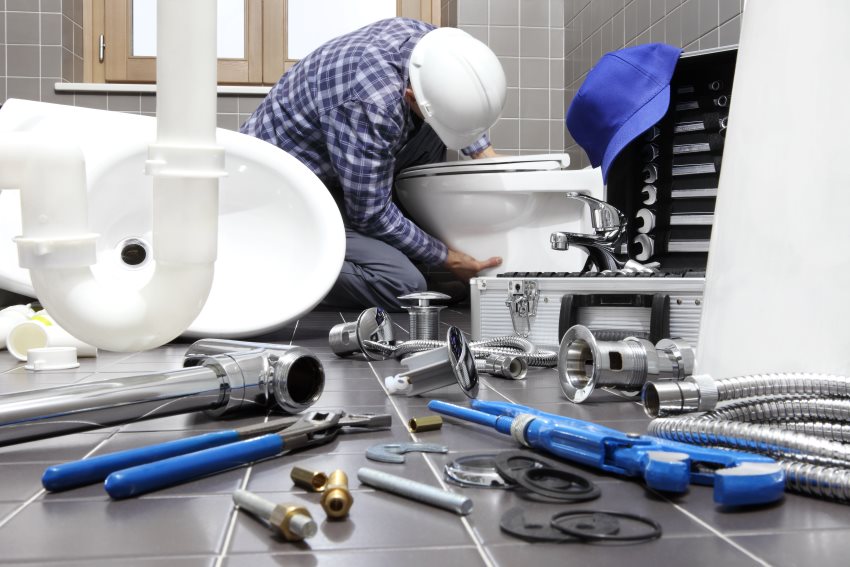
To install a toilet, several plumbing components are required, along with the expertise provided by residential plumbing services:
1. Water Supply Line: A water supply line delivers clean water to the toilet tank for flushing. This line typically connects to a shut-off valve on the wall or floor near the toilet and is usually made of copper, plastic, or flexible braided stainless steel.
2. Fill Valve: The fill valve, also known as the ballcock or refill valve, controls the flow of water into the toilet tank. It is connected to the water supply line and fills the tank with water after each flush.
3. Flush Valve: The flush valve is a mechanism that releases water from the toilet tank into the bowl to initiate the flushing process. When the flush handle is pressed, the flush valve opens, allowing water to flow into the bowl and remove waste.
4. Flapper: The flapper is a rubber or plastic seal that covers the flush valve opening and prevents water from draining out of the tank when it’s not in use. When the flush handle is pressed, the flapper lifts to allow water to flow into the bowl.
5. Overflow Tube: The overflow tube prevents the tank from overfilling by directing excess water into the toilet bowl or down the drain if the fill valve malfunctions.
6. Tank-to-Bowl Gasket: This gasket seals the connection between the toilet tank and bowl to prevent leaks. It is usually made of rubber or foam and is located between the tank and bowl.
7. Wax Ring or Toilet Gasket: A wax ring or toilet gasket creates a watertight seal between the bottom of the toilet bowl and the drainpipe in the floor. This prevents leaks and ensures that waste is directed into the sewer line.
8. Bolts and Washers: Bolts and washers secure the toilet to the floor and hold it in place. These bolts pass through holes in the base of the toilet and are secured with nuts underneath the toilet bowl.
These are the essential plumbing components required for a toilet installation. Proper installation and sealing are crucial to prevent leaks and ensure the toilet functions correctly. It’s recommended to consult a professional plumber near me for toilet installation or if you encounter any issues during the installation process, including plumbing pipe repair.


HOW DO YOU INSTALL A TOILET IN PLUMBING?
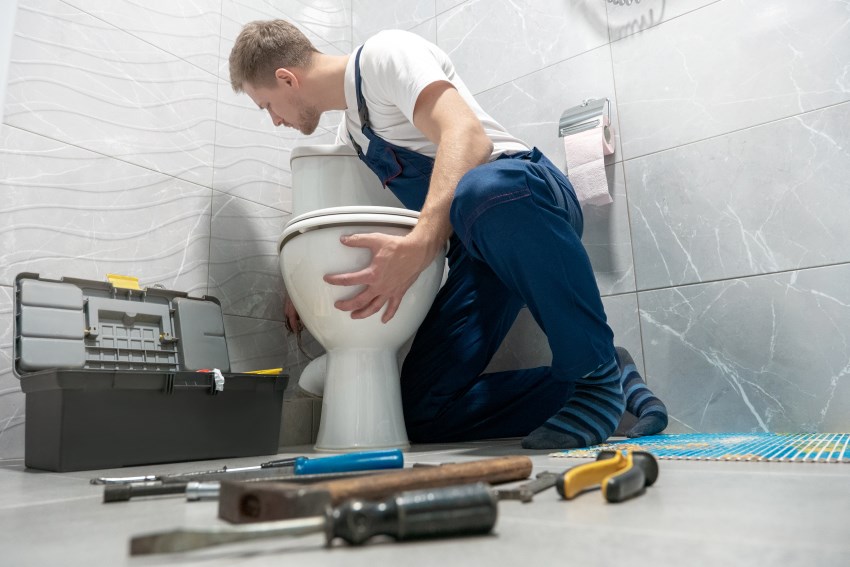
Installing a toilet in plumbing involves several steps. Here’s a general guide on how to install a toilet, with the expertise and assistance often provided by a plumbing company:
Materials Needed:
– Toilet
– Wax ring or toilet gasket
– Toilet bolts and washers
– Toilet tank-to-bowl gasket (if applicable)
– Toilet tank-to-bowl bolts and washers (if applicable)
– Flexible water supply line
– Adjustable wrench
– Screwdriver
– Putty knife
– Level
– Plumber’s tape (Teflon tape)
Steps:
1. Prepare the Area:
– Turn off the water supply to the toilet by closing the shut-off valve located near the toilet.
– Remove the old toilet if replacing an existing one. Disconnect the water supply line and remove the bolts securing the toilet to the floor. Use a putty knife to scrape away the old wax ring or gasket from the drain opening.
2. Install the Wax Ring or Gasket:
– Place a new wax ring or toilet gasket over the drain opening on the floor. Ensure that the wax ring is centered and properly seated.
3. Position the Toilet:
– Carefully position the toilet over the wax ring or gasket, aligning the bolt holes in the base of the toilet with the bolts in the floor flange. Take care not to disturb the wax ring or gasket once it’s in place.
4. Secure the Toilet:
– Place plastic washers over the toilet bolts, then thread the nuts onto the bolts and hand-tighten them. Use a wrench to tighten the nuts further, alternating between the bolts to ensure even pressure. Be careful not to overtighten, as this could crack the toilet base.
5. Connect the Water Supply Line:
– Connect one end of the flexible water supply line to the shut-off valve on the wall or floor, and the other end to the fill valve on the bottom of the toilet tank. Use plumber’s tape (Teflon tape) on the threaded connections to prevent leaks.
6. Secure the Toilet Tank (if applicable):
– If the toilet has a separate tank, place the tank onto the back of the toilet bowl and align the tank-to-bowl gasket and bolt holes. Secure the tank with bolts and washers, tightening them evenly to ensure a watertight seal.
7. Turn on the Water Supply:
– Open the shut-off valve to restore water flow to the toilet. Check for leaks around the water supply line connection and at the base of the toilet.
8. Test the Toilet:
– Flush the toilet several times to ensure it’s working properly. Check for any leaks or signs of water damage around the base of the toilet.
9. Install the Toilet Seat (if applicable):
– Attach the toilet seat according to the manufacturer’s instructions. Make sure it’s securely fastened to the bowl.
10. Finish Up:
– Use a level to ensure the toilet is sitting evenly on the floor. If necessary, shim the base of the toilet to achieve a level surface.
– Caulk around the base of the toilet to provide a clean, finished appearance and to prevent water from seeping under the toilet.
Once the toilet is installed and tested, you’re ready to use it. If you encounter any difficulties during the installation process or if you’re unsure about any steps, it’s recommended to call a emergency plumbing services for assistance.


DO YOU NEED A P TRAP FOR A TOILET?
Yes, a P-trap is an essential component of a toilet’s plumbing system. A P-trap is a curved section of pipe located beneath the toilet bowl or the toilet’s waste outlet. Its purpose is to prevent sewer gases and odors from entering the building by creating a water seal.
Here’s how the P-trap works in a toilet’s plumbing system:
1. Water Seal: The P-trap is filled with water, creating a seal that prevents sewer gases from traveling back up through the drain and into the bathroom. This water seal effectively blocks odors and harmful gases from entering the living space.
2. Prevention of Clogs: In addition to blocking gases, the P-trap also helps prevent clogs by trapping debris that may accidentally enter the drain. The water in the trap acts as a barrier, catching solid waste and allowing it to be flushed away without causing blockages.
3. Maintaining Pressure Balance: The P-trap also helps maintain pressure balance within the plumbing system. It prevents air from being sucked into the drain or sewer line, which could disrupt the flow of wastewater and cause drainage issues.
In summary, the P-trap is a crucial component of a toilet’s plumbing system, providing both odor protection and clog prevention. It is required by building codes and regulations to ensure the safety and functionality of the plumbing system.
Reach Us
TMK Plumber and Water Heater Repair Austin
610 E Wells Branch Pkwy #17207, Pflugerville, TX 78660
512-985-2932
Hours of Operation
Mon Open 24 hours
Tue Open 24 hours
Wed Open 24 hours
Thu Open 24 hours
Fri Open 24 hours
Sat Open 24 hours
Sun Open 24 hours
