Water Heater Replacement – Austin, TX 78727
CALL FOR AN ESTIMATE
HOW TO REPLACE AN ELECTRIC WATER HEATER?
Replacing an electric water heater involves several steps and should ideally be done by a professional plumber near me or technician. However, if you’re confident in your abilities and comfortable working with electricity and plumbing, you can follow these general steps to replace an electric water heater:
1. Gather Necessary Tools and Materials:
– New electric water heater
– Pipe wrench
– Adjustable wrench
– Screwdriver
– Pipe cutter or hacksaw
– Teflon tape or pipe joint compound
– Wire strippers
– Multimeter
– Garden hose
– Bucket
2. Turn Off Utilities:
– Turn off the power to the water heater at the circuit breaker.
– Turn off the water supply to the water heater.
3. Drain the Tank:
– Connect a garden hose to the drain valve at the bottom of the water heater.
– Run the hose to a floor drain, outdoor area, or bucket.
– Open a hot water faucet in your house to allow air into the tank.
– Open the drain valve on the water heater and allow the tank to drain completely.
4. Disconnect Plumbing Connections:
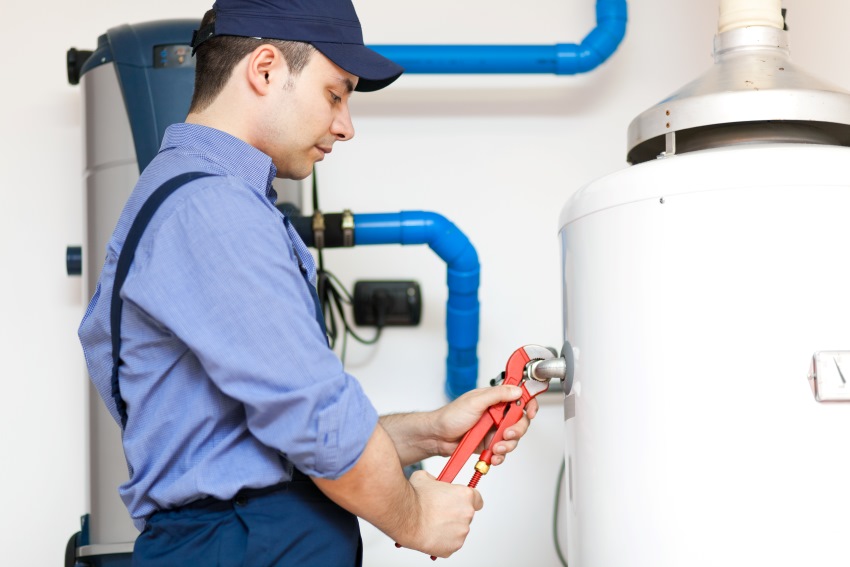
– Use a pipe wrench to disconnect the hot and cold water supply lines from the water heater.
– Disconnect the discharge pipe from the pressure relief valve.
– Disconnect the overflow pipe from the pressure relief valve.
5. Disconnect Electrical Connections:
– Remove the access panels on the water heater to access the electrical connections.
– Use a screwdriver to disconnect the wires from the heating elements, thermostat, and any other electrical components.
– Label the wires to ensure proper reconnection later.
6. Remove the Old Water Heater:
– Carefully remove the old water heater from its location. You may need assistance due to its weight.
7. New Water Heater Installation:
– Position the new water heater in the same location as the old one.
– Connect the plumbing lines to the corresponding connections on the new water heater, using Teflon tape or pipe joint compound to seal the connections.
– Reconnect the electrical wires to the heating elements, thermostat, and other electrical components, following the labels you made earlier.
8. Fill and Test the Tank:
– Close the drain valve on the new water heater.
– Open the water supply valve to fill the tank.
– Once the tank is full, open a hot water faucet in your house to bleed air from the system.
– Check for leaks at all connections.
– Turn on the power to the water heater at the circuit breaker.
9. Test the Heating Elements:
– Use a multimeter to test the heating elements for continuity.
– If both heating elements are functioning properly, the water heater should begin heating the water.
10. Monitor Performance:
– Monitor the performance of the new water heater to ensure it’s functioning properly and providing hot water as expected.
If at any point you encounter difficulties or are unsure about any aspect of the replacement process, it’s best to stop and contact a professional plumber or technician for assistance. Incorrect installation can lead to water leaks, electrical hazards, and other safety risks. This caution is especially important when dealing with Residential Plumbing Services and the installation of Tankless Water Heaters, as these systems require precise installation techniques to ensure optimal performance and safety. Consulting with a qualified professional helps mitigate potential issues and ensures that your water heater replacement is carried out smoothly and securely.
HOW DO I PREPARE MY WATER HEATER FOR REPLACEMENT?
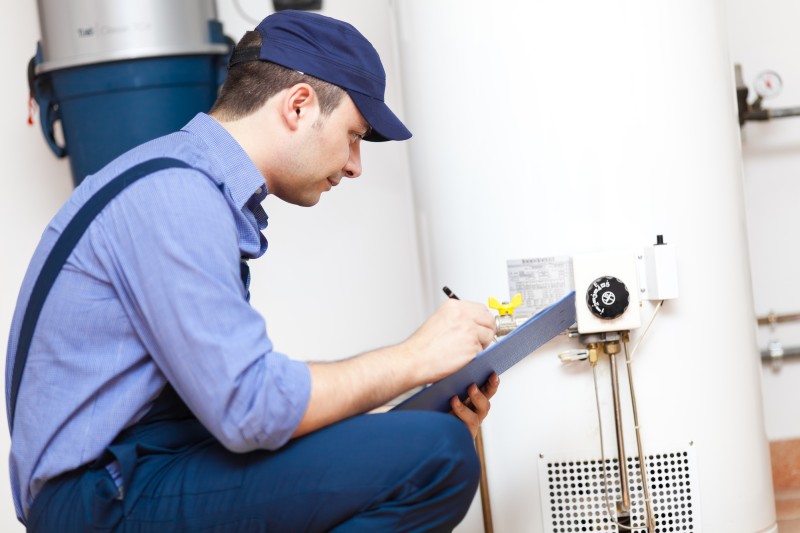
Preparing your water heater for replacement involves several steps to ensure a smooth and safe installation process. Here’s a guide to help you prepare your water heater for replacement:
1. Turn Off Utilities:
– Turn off the power to the water heater at the circuit breaker or fuse box.
– For gas water heaters, turn off the gas supply at the shut-off valve.
2. Turn Off Water Supply:
– Locate the cold water shut-off valve connected to the water heater.
– Turn the valve clockwise to shut off the water supply to the water heater.
3. Drain the Tank:
– Connect a garden hose to the drain valve at the bottom of the water heater.
– Run the other end of the hose to a floor drain, outdoor area, or bucket.
– Open a hot water faucet in your house to allow air into the tank.
– Open the drain valve on the water heater and allow the tank to drain completely.
– After draining, close the drain valve.
4. Disconnect Utilities:
– If your water heater is electric, disconnect the electrical power by turning off the circuit breaker or removing the fuse.
– If your water heater is gas-powered, turn off the gas supply at the shut-off valve and disconnect the gas line.
5. Disconnect Plumbing Connections:
– Use a pipe wrench to disconnect the hot and cold water supply lines from the water heater.
– Disconnect the discharge pipe from the pressure relief valve.
– Disconnect the overflow pipe from the pressure relief valve.
6. Remove Insulation and Panels:
– If your water heater has insulation, remove it from around the tank to access the plumbing and electrical connections.
– Remove any access panels covering the heating elements, thermostat, and other components.
7. Prepare for Removal:
– Ensure there is a clear path to remove the old water heater from its location.
– If necessary, clear any obstacles or debris around the water heater to facilitate removal.
8. Gather Necessary Tools and Materials:
– Before beginning the replacement process, gather all the tools and materials you’ll need for the installation, such as a new water heater, pipe wrench, adjustable wrench, screwdriver, pipe cutter or hacksaw, Teflon tape or pipe joint compound, wire strippers, and a multimeter.
By following these steps to prepare your water heater for replacement, you’ll ensure a safer and more efficient installation process. If you’re unsure about any aspect of the preparation or replacement process, it’s best to contact a professional plumber or technician for assistance. This is particularly crucial when considering Water Heater Repair, as the expertise of a qualified professional ensures that any underlying issues are addressed comprehensively, preventing future problems and extending the lifespan of your water heater.

HOW LONG DOES IT TAKE TO REMOVE AND REPLACE A HOT WATER HEATER?
Here are some factors that can affect the duration of the replacement process:
1. Type of Water Heater: Electric water heaters may be quicker to replace compared to gas water heaters due to the simpler installation process and fewer connections. Additionally, tankless water heaters may require more time for installation due to their more complex setup.
2. Access and Location: The accessibility of the water heater and the location of the installation site can impact the time it takes to remove and replace the unit. If the water heater is located in a tight space or difficult-to-access area, it may take longer to maneuver and install the new unit.
3. Preparation and Planning: Proper preparation, including draining the tank, disconnecting utilities, and gathering necessary tools and materials, can help streamline the replacement process and reduce downtime.
4. Skill and Experience: A professional plumber or technician with experience in water heater installations may be able to complete the replacement more efficiently compared to someone attempting it for the first time. However, even experienced professionals may encounter unexpected challenges that could prolong the process.
5. Additional Work Required: If there are issues with the existing plumbing or electrical connections, additional time may be needed to address these issues before installing the new water heater.
Overall, it’s essential to allow sufficient time for the removal and replacement of a hot water heater to ensure that the job is done safely and correctly. If you’re unsure about the process or encounter any challenges along the way, it’s best to seek assistance from a professional plumber or technician who can complete the job efficiently and effectively.
DO YOU HAVE TO DRAIN A WATER HEATER TO REPLACE IT?
Yes, it is typically necessary to drain a water heater before replacing it. Draining the water heater serves several purposes:
1. Safety: Draining the water heater ensures that there is no hot water in the tank, reducing the risk of burns or scalding during the replacement process.
2. Ease of Handling: An empty water heater tank is lighter and easier to maneuver, making it simpler to remove and replace.
3. Prevention of Water Damage: Draining the tank prevents water from spilling out during the removal process, reducing the risk of water damage to the surrounding area.
4. Access to Components: Draining the tank allows access to the plumbing and electrical connections, making it easier to disconnect and remove the old water heater and install the new one.
To drain a water heater, follow these general steps:
1. Turn off the power or gas supply to the water heater.
2. Turn off the cold water supply to the water heater.
3. Connect a garden hose to the drain valve at the bottom of the water heater.
4. Run the other end of the hose to a floor drain, outdoor area, or bucket.
5. Open a hot water faucet in your house to allow air into the tank.
6. Open the drain valve on the water heater and allow the tank to drain completely.
7. Once the tank is empty, close the drain valve.
Draining the water heater ensures a smoother and safer replacement process. If you’re unsure about draining the water heater or replacing it, it’s best to contact a professional plumber or technician for assistance. They have the expertise and tools to complete the job safely and efficiently.
Reach Us
TMK Plumber and Water Heater Repair Austin
610 E Wells Branch Pkwy #17207, Pflugerville, TX 78660
512-985-2932
Hours of Operation
Mon Open 24 hours
Tue Open 24 hours
Wed Open 24 hours
Thu Open 24 hours
Fri Open 24 hours
Sat Open 24 hours
Sun Open 24 hours
